adding individual post pages
gatsby blogging: part 3added 27th May 2023
It’s all good to show the posts on the home page, but of course for a blog we would need a separate page for each post to show the full contents.
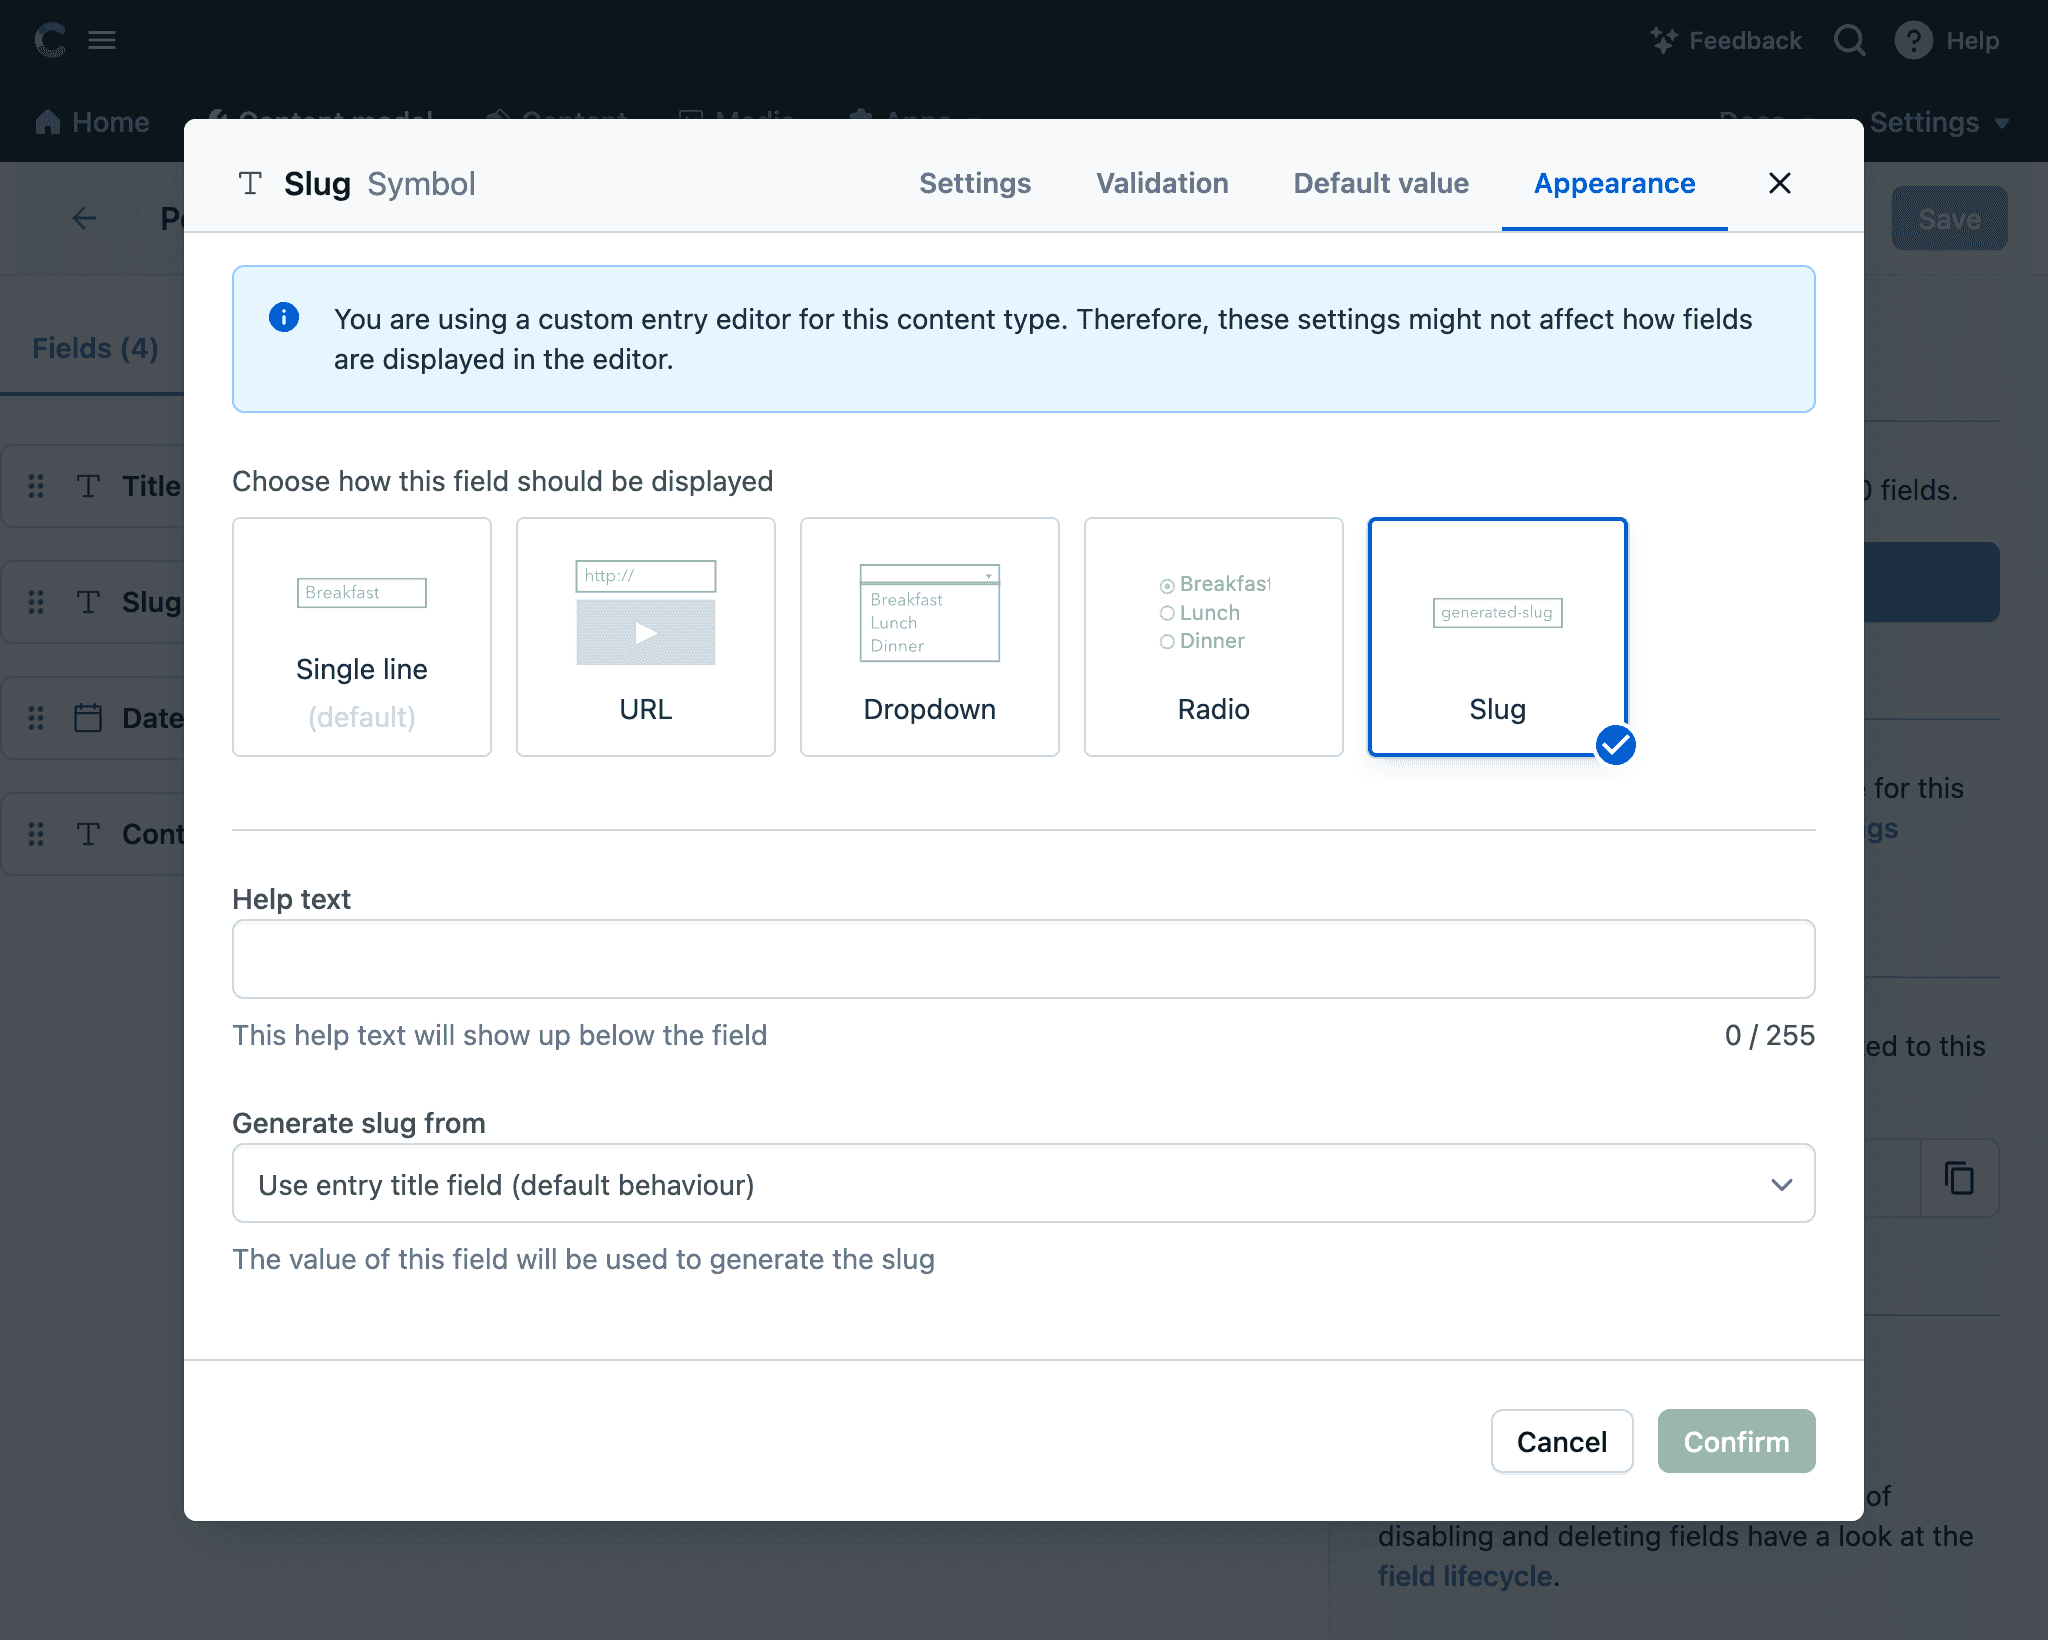
In order to do that, first we create an additional field in our content schema. This is so we can have a slug for each post that can be used to create a nicer reading URL then an ID alone.

Speaking of the URL, we can customise the data layer in Gatsby so that it provides additional fields when we query for a post. This can be handy to add fields such as a URL path that each post will need, and that can be calculated from the other data in a post.
We define the new fields and add it to the schema for a ContentfulPost.
// gatsby-node.js

exports.createSchemaCustomization = ({ actions }) => {
  const { createTypes, createFieldExtension } = actions;

  const types = `
    type ContentfulPost implements ContentfulReference & ContentfulEntry & Node {
      path: String!
      pathIdOnly: String!
    }
  `;

  createTypes(types);
};
Then we tell Gatsby how to calculate these additional fields. In this case there is a path field that provides a URL path for the individual post page, that is made up of the unique post ID and the post slug to provide a more readable path (e.g. /post/31qRr6zQQo6vZeB1W1TEgh/first-post).
I’ve also added a version of the path that is just the post ID (e.g. /post/31qRr6zQQo6vZeB1W1TEgh), as Gatsby is able to create redirects to the correct full path from the post ID in case the slug ever changes. That is also why I prefer to still have a unique ID in the path rather than just the slug.
// gatsby-node.js

exports.createResolvers = ({ createResolvers }) => {
  const resolvers = {
    ContentfulPost: {
      path: {
        resolve(source, args, context, info) {
          if (!source.contentful_id || !source.slug)
            throw new Error('missing content id or slug');
          return `/post/${source.contentful_id}/${source.slug}`;
        },
      },
      pathIdOnly: {
        resolve(source, args, context, info) {
          if (!source.contentful_id) throw new Error('missing content id');
          return `/post/${source.contentful_id}`;
        },
      },
    },
  };
  createResolvers(resolvers);
};
To actually create the pages, we can use the createPages function. Within it, we use a GraphQL query to look up all the posts, including the paths we generated above, and create a page for each post. We also pass the ID of a post to the page template so that the template knows which post is for which page and can show the right information.
We also add the redirect mentioned above so that if the slug ever changes or someone only has the post ID, the site can still redirect them to the right page URL. These redirects are quite useful but will only work with hosting services that support them.
// gatsby-node.js

exports.createPages = async ({ graphql, actions }) => {
  const { createPage, createRedirect } = actions;

  const PostTemplate = path.resolve('./src/templates/PostTemplate.js');

  const results = await graphql(`
    {
      allContentfulPost(sort: { date: ASC }) {
        edges {
          node {
            id
            path
            pathIdOnly
          }
        }
      }
    }
  `);
  if (results.data.allContentfulPost?.edges?.length) {
    results.data.allContentfulPost.edges.forEach(({ node: post }) => {
      createPage({
        path: post.path,
        component: PostTemplate,
        context: {
          id: post.id,
        },
      });
      createRedirect({
        fromPath: `${post.pathIdOnly}/*`,
        toPath: post.path,
      });
    });
  }
};
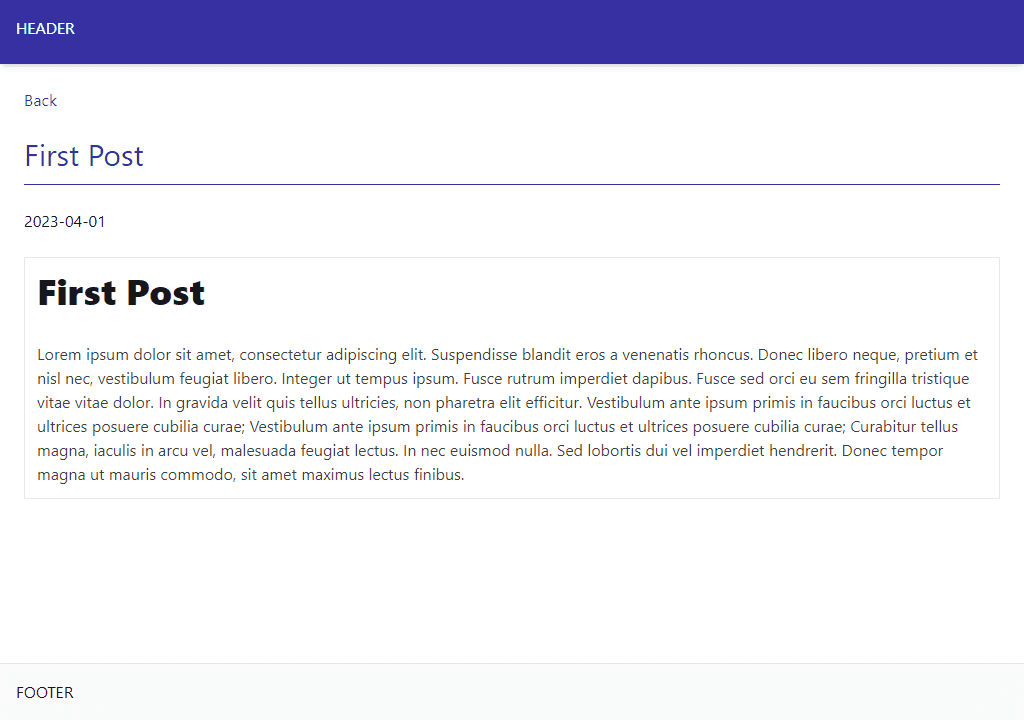
Of course creating the pages won’t work until we have the template for those pages. For each page, the query retrieves the details of a post based on the ID that is passed to it from the createPage function. Within the template itself, for now I’ve kept it simple to just show the title, date, and the HTML rendered from the markdown content.
// src/templates/PostTemplate.js

import React from 'react';
import { graphql, Link } from 'gatsby';

import Layout from '../components/layouts/Layout';

const PostTemplate = ({ data }) => {
  const { contentfulPost: post } = data;
  return (
    <Layout>
      <Link
        to="/"
        className="mb-6 cursor-pointer font-normal text-indigo-700 decoration-1 underline-offset-2 hover:text-indigo-800 hover:underline"
      >
        Back
      </Link>
      <h1 className="mb-6 border-b border-b-indigo-800 pb-3 text-3xl text-indigo-800">
        {post.title}
      </h1>
      <p className="mb-6">{post.date}</p>
      <div
        className="prose prose-zinc max-w-none overflow-x-clip border p-3 leading-normal prose-p:max-w-none"
        dangerouslySetInnerHTML={{
          __html: post.content.childMarkdownRemark.html,
        }}
      ></div>
    </Layout>
  );
};

export const query = graphql`
  query Post($id: String!) {
    contentfulPost(id: { eq: $id }) {
      id
      contentful_id
      title
      date
      content {
        childMarkdownRemark {
          html
        }
      }
    }
  }
`;

export default PostTemplate;
The post pages will then look like the below when generated.

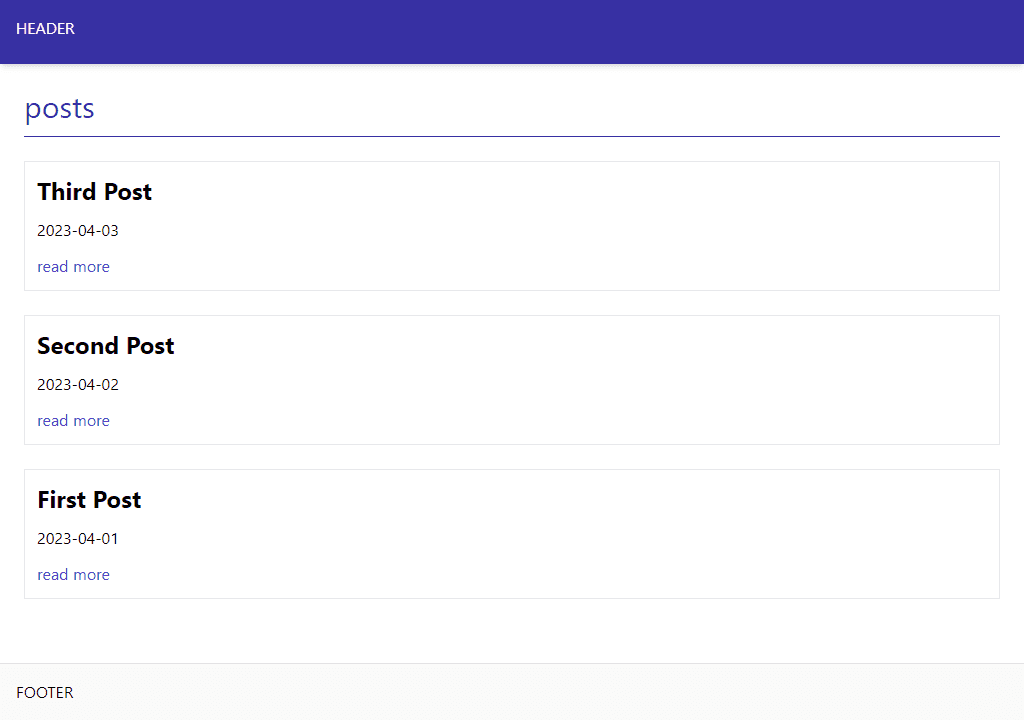
The final thing to do is update the home page so that each post in the list shows a link to open up the relevant post page.
// src/pages/index.js

<Layout>
  <h1 className="mb-6 border-b border-b-indigo-800 pb-3 text-3xl text-indigo-800">
    posts
  </h1>
  <div className="flex flex-col gap-6">
    {posts &&
      posts.map(({ node: post }) => (
        <div key={post.id} className="flex flex-col border p-3">
          <h2 className="mb-3 text-2xl font-bold">{post.title}</h2>
          <p className="mb-3">{post.date}</p>
          <Link
            to={post.path}
            className="cursor-pointer text-indigo-700 decoration-1 underline-offset-2 hover:text-indigo-800 hover:underline"
          >
            read more
          </Link>
        </div>
      ))}
  </div>
</Layout>