setting up contentful as the cms
gatsby blogging: part 2added 7th May 2023
To manage the content of the blog, I went with Contentful as the CMS. The main reason was it’s integration and support in Gatsby with an official plugin for Gatsby. It turns out that Contentful is quite flexible in terms of the content that can be added and defining the fields and schema of that content, which is quite easier to manage than just using markdown files like I tried in my first blog attempt.
Within Contentful, we create a space to hold all the content for the website. We need to take note of the Space ID here to provide to our Gatsby configuration.
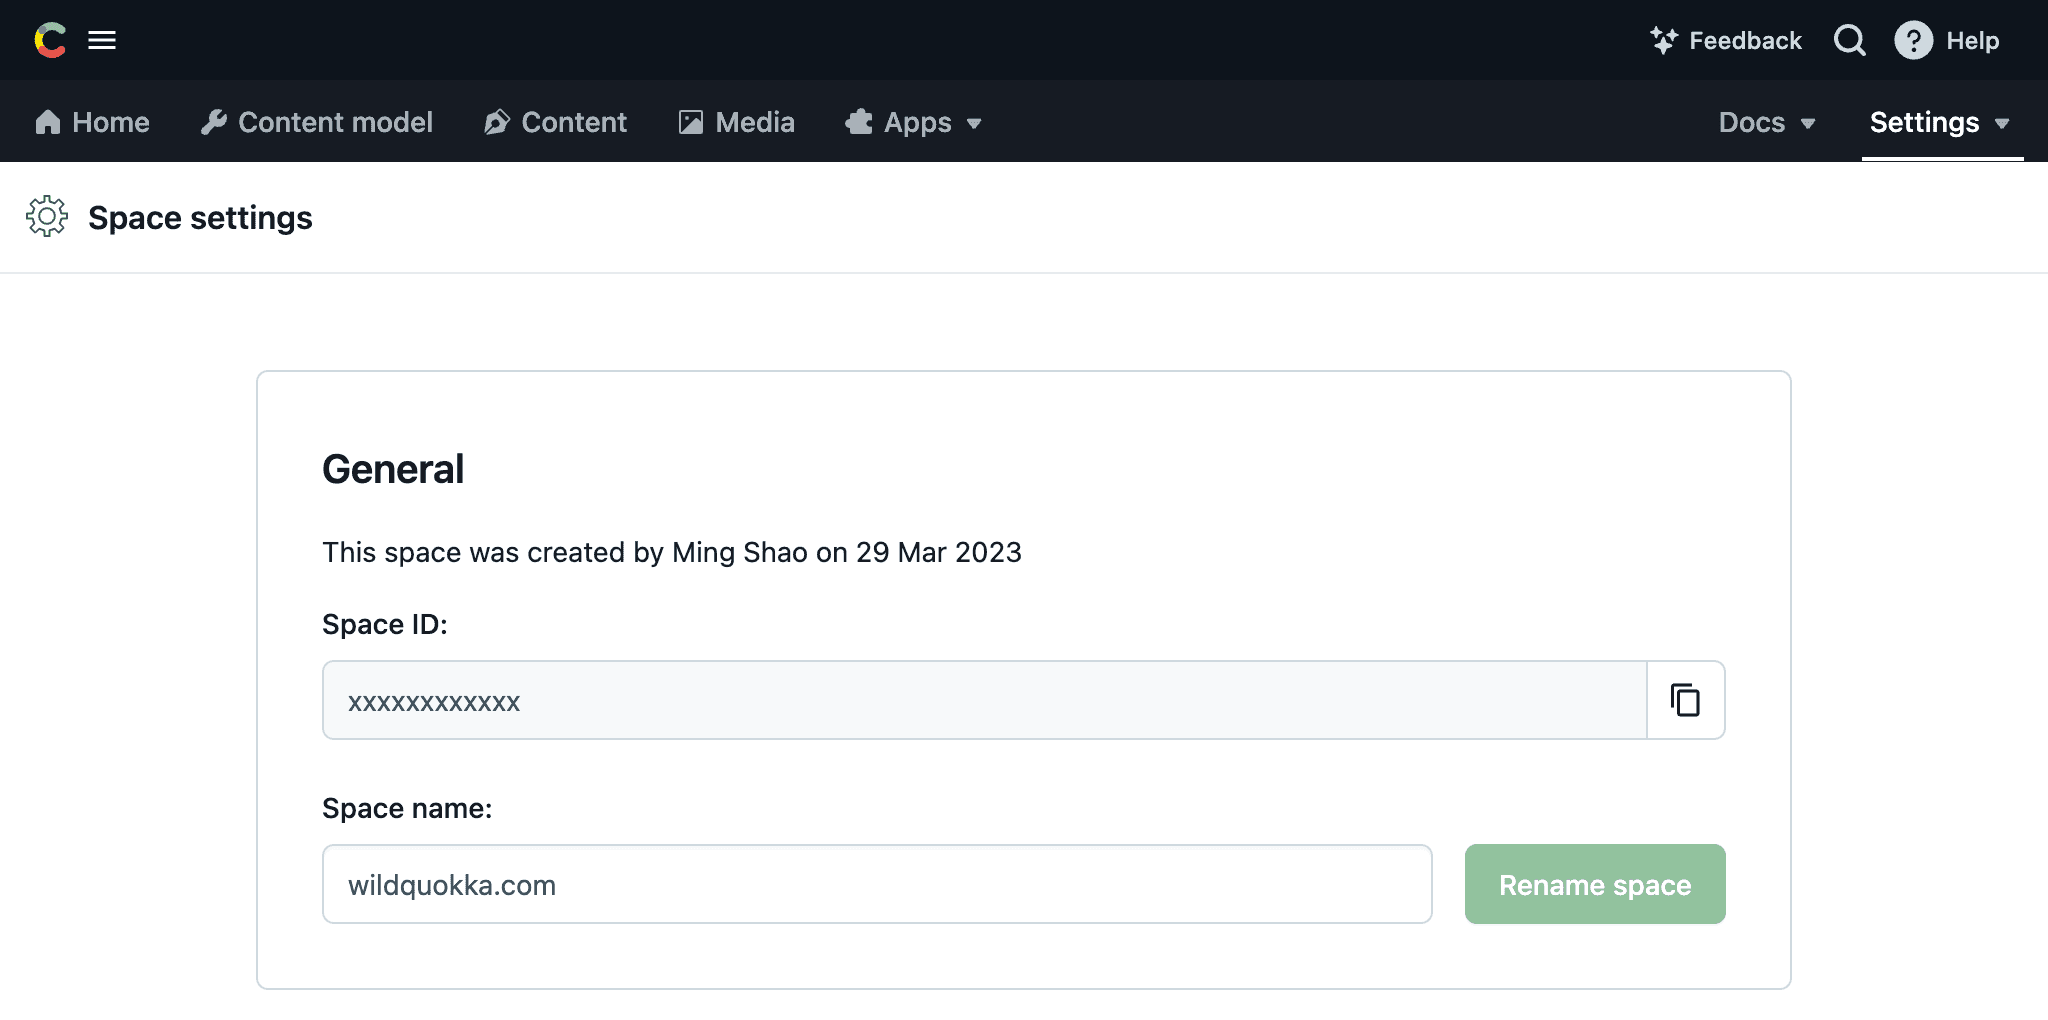
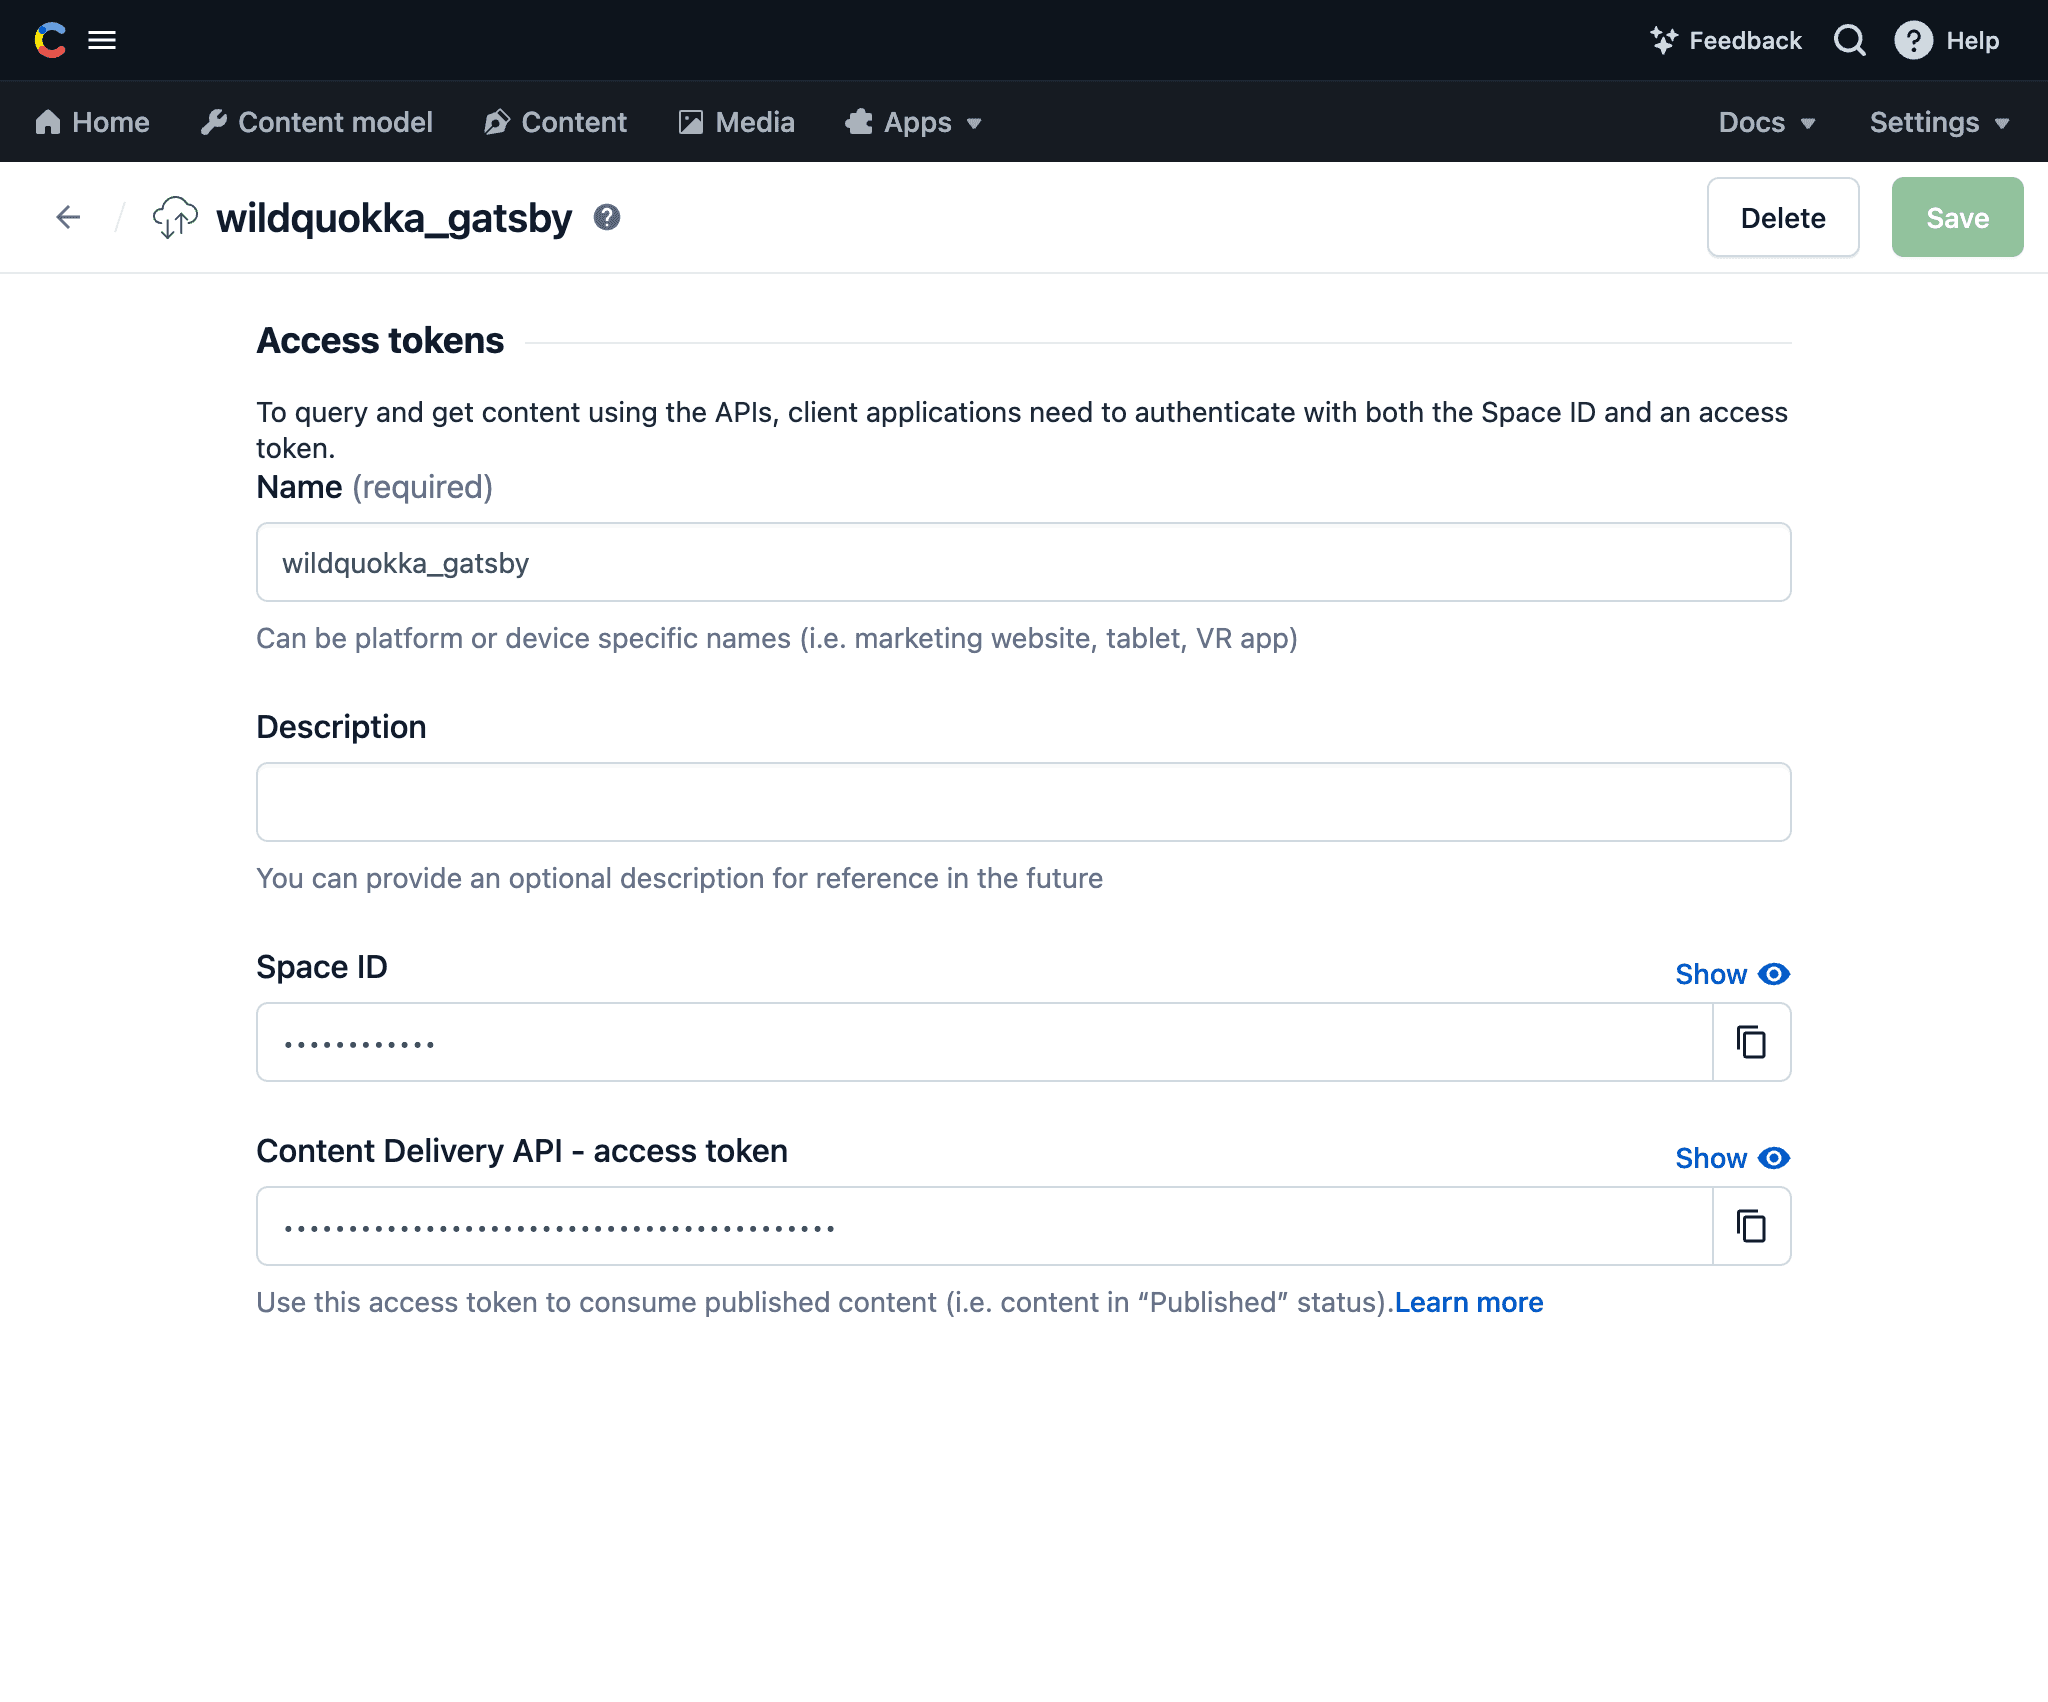
For Gatsby to access the content when building the site, we also need to create an API access token. In this case we use the token for the Delivery API so that the published content is retrieved, but not the draft content.
Contentful allows us to define content types. Each content type represents a different type of item that can be added to the blog, and it can set a standard data structure for that type.
Our first content type would be a post.
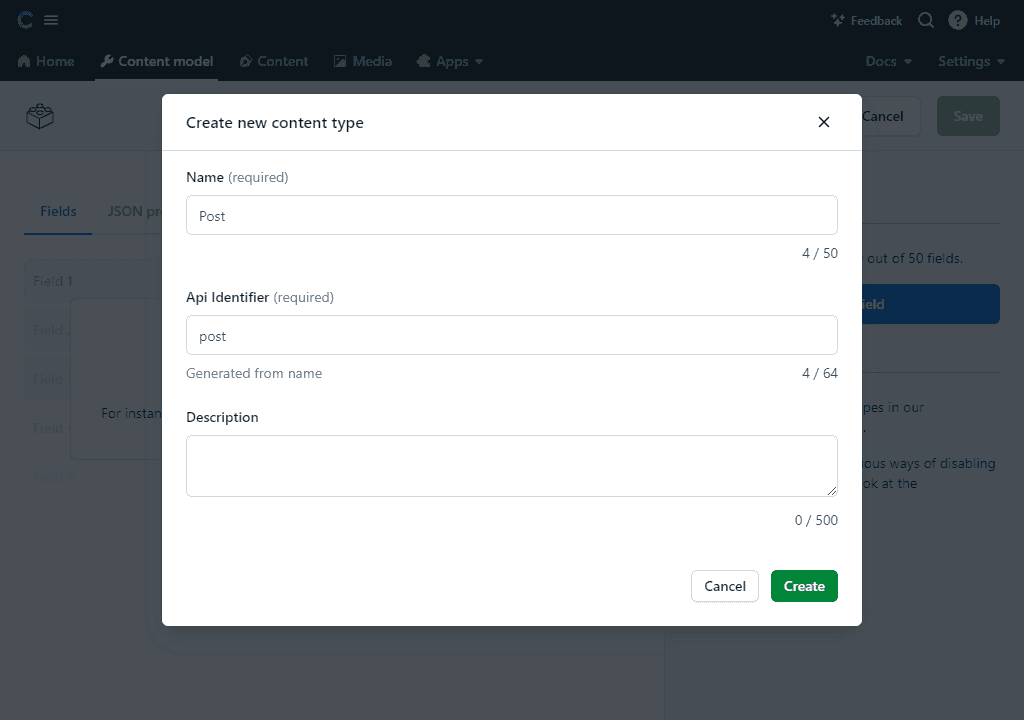
For each post, we would expect it to have a title, a date, and the main content of the post itself.
We create these as fields in the post content type.
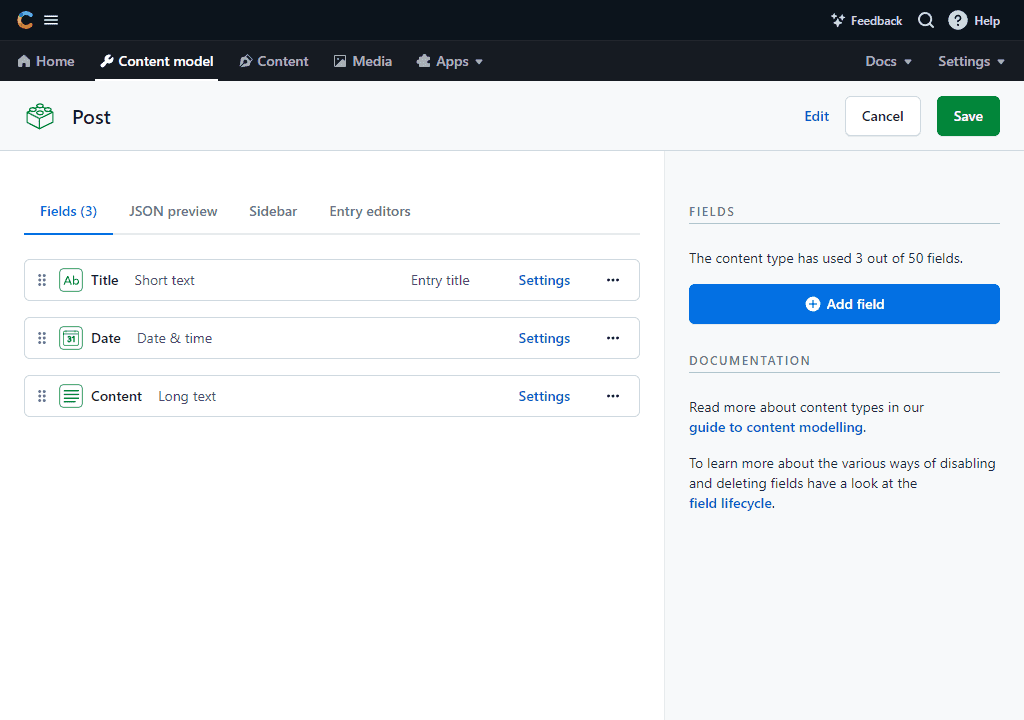
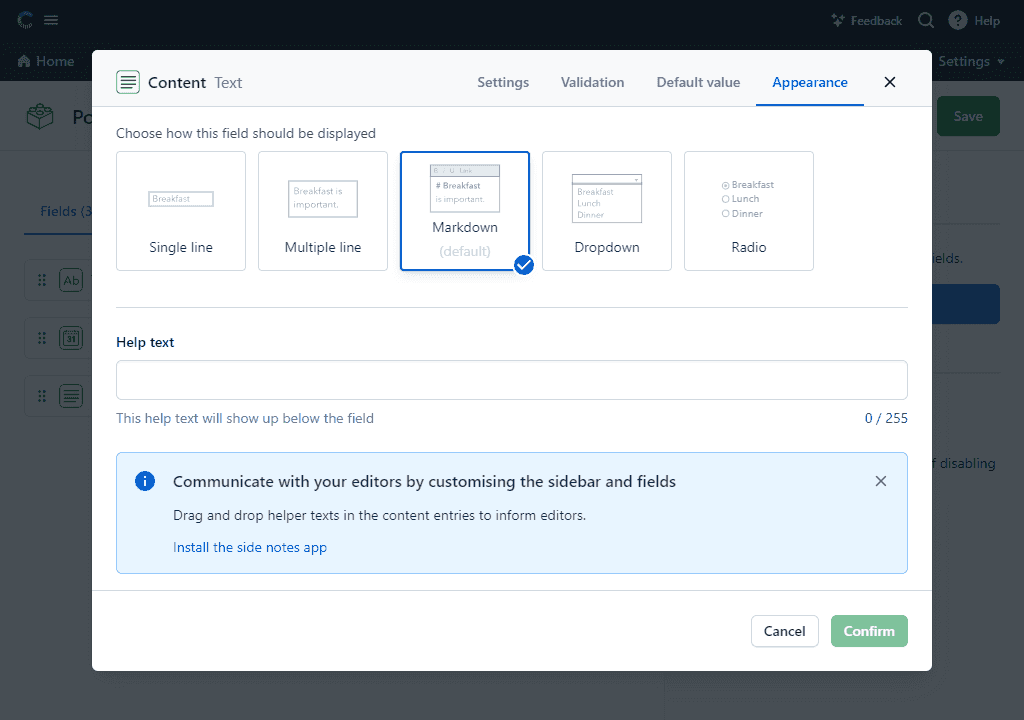
For the content field to contain the main content of the post, we are able to use markdown formatting by setting it to a text field (instead of rich text) and selecting markdown in the field configuration.
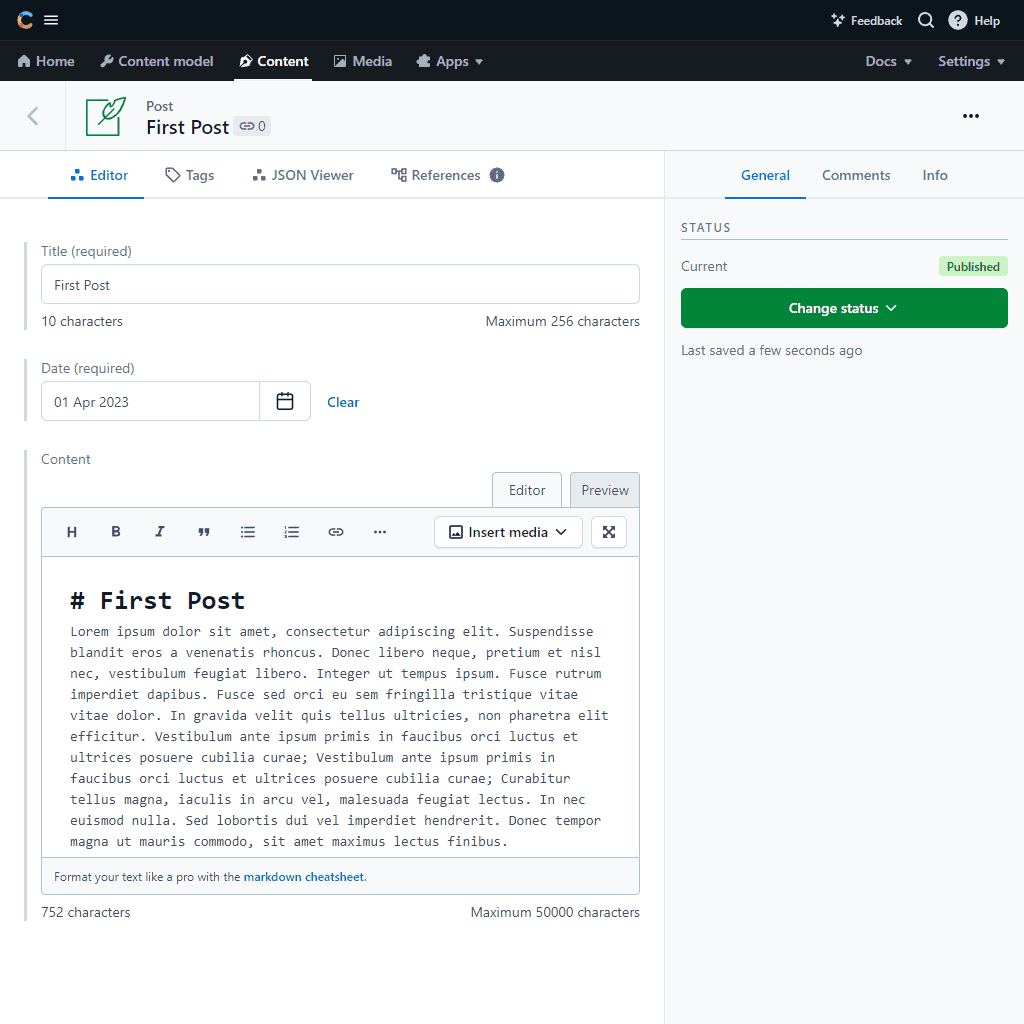
With the configuration created for the post content type, we can then write our first post.
For Gatsby to fetch and process the content in Contentful into the site, there is a handy official plugin.
The plugin is installed as per any other Gatsby plugin, and we enable it in the Gatsby configuration.
npm install gatsby-source-contentfulIn this case we also setup a file for our environment variables as we need to pass in the API token we obtained beforehand.
# .env.development

CONTENTFUL_SPACE=XXXXXXXX
CONTENTFUL_TOKEN=XXXXXXXX
// gatsby-config.js
require('dotenv').config({
path: `.env.${process.env.NODE_ENV}`,
});
module.exports = {
plugins: [
{
resolve: 'gatsby-source-contentful',
options: {
spaceId: process.env.CONTENTFUL_SPACE,
accessToken: process.env.CONTENTFUL_TOKEN,
},
},
],
};If we go to the Gatsby GraphQL explorer at http://localhost:8000/___graphql, we can see that the Contentful data has come across, and that any posts created will show under the allContentfulPost type.
We can test the below query, and it should return the following response including the post we created before.
query {
  allContentfulPost {
    edges {
      node {
        id
        title
        date
        content {
          content
        }
      }
    }
  }
}
{
"data": {
"allContentfulPost": {
"edges": [
{
"node": {
"id": "47509c77-4170-5910-9634-cd38046acbf5",
"title": "First Post",
"date": "2023-04-01",
"content": {
"content": "# First Post\nLorem ipsum dolor sit amet, consectetur..."
}
}
}
]
}
},
"extensions": {}
}If you look closer at the post data, you can see that the content field is still in markdown format. We need something to convert that markdown into HTML so that it can be displayed in the site. As per before, Gatsby has a convenient plugin for this.
npm install gatsby-transformer-remark// gatsby-config.js
module.exports = {
plugins: [
{
resolve: 'gatsby-transformer-remark',
options: {
footnotes: true,
gfm: true,
plugins: [],
},
},
],
};Once installed and added to the configuration, in the GraphQL data for posts, there is an additional field available for the converted HTML of the post content.
query {
  allContentfulPost {
    edges {
      node {
        id
        title
        date
        content {
          childMarkdownRemark {
            html
          }
        }
      }
    }
  }
}
{
"data": {
"allContentfulPost": {
"edges": [
{
"node": {
"id": "47509c77-4170-5910-9634-cd38046acbf5",
"title": "First Post",
"date": "2023-04-01",
"content": {
"childMarkdownRemark": {
"html": "<h1>First Post</h1>\n<p>Lorem ipsum dolor sit amet, consectetur...</p>"
}
}
}
}
]
}
},
"extensions": {}
}With our CMS configured and the content flowing through, we can build out our home page to display this first post.
The GraphQL query here fetches all posts sorted descending by date along with their title, date, and content.
For this initial page, the posts are simply iterated through and shown.
// src\pages\index.js

import React from 'react';
import { graphql } from 'gatsby';

import Layout from '../components/layouts/Layout';

const IndexPage = ({ data }) => {
  const { edges: posts } = data.allContentfulPost;

  return (
    <Layout>
      <h1 className="mb-6 border-b border-b-indigo-800 pb-3 text-3xl text-indigo-800">
        posts
      </h1>
      <div className="flex flex-col gap-6">
        {posts &&
          posts.map(({ node: post }) => (
            <div key={post.id} className="flex flex-col border p-3">
              <h2 className="mb-3 text-2xl font-bold">{post.title}</h2>
              <p className="mb-3">{post.date}</p>
              <div
                className="prose prose-zinc max-w-none overflow-x-clip border p-3 leading-normal prose-p:max-w-none"
                dangerouslySetInnerHTML={{
                  __html: post.content.childMarkdownRemark.html,
                }}
              ></div>
            </div>
          ))}
      </div>
    </Layout>
  );
};

export const query = graphql`
  {
    allContentfulPost(sort: { date: DESC }) {
      edges {
        node {
          id
          contentful_id
          title
          date
          content {
            childMarkdownRemark {
              html
            }
          }
        }
      }
    }
  }
`;

export default IndexPage;
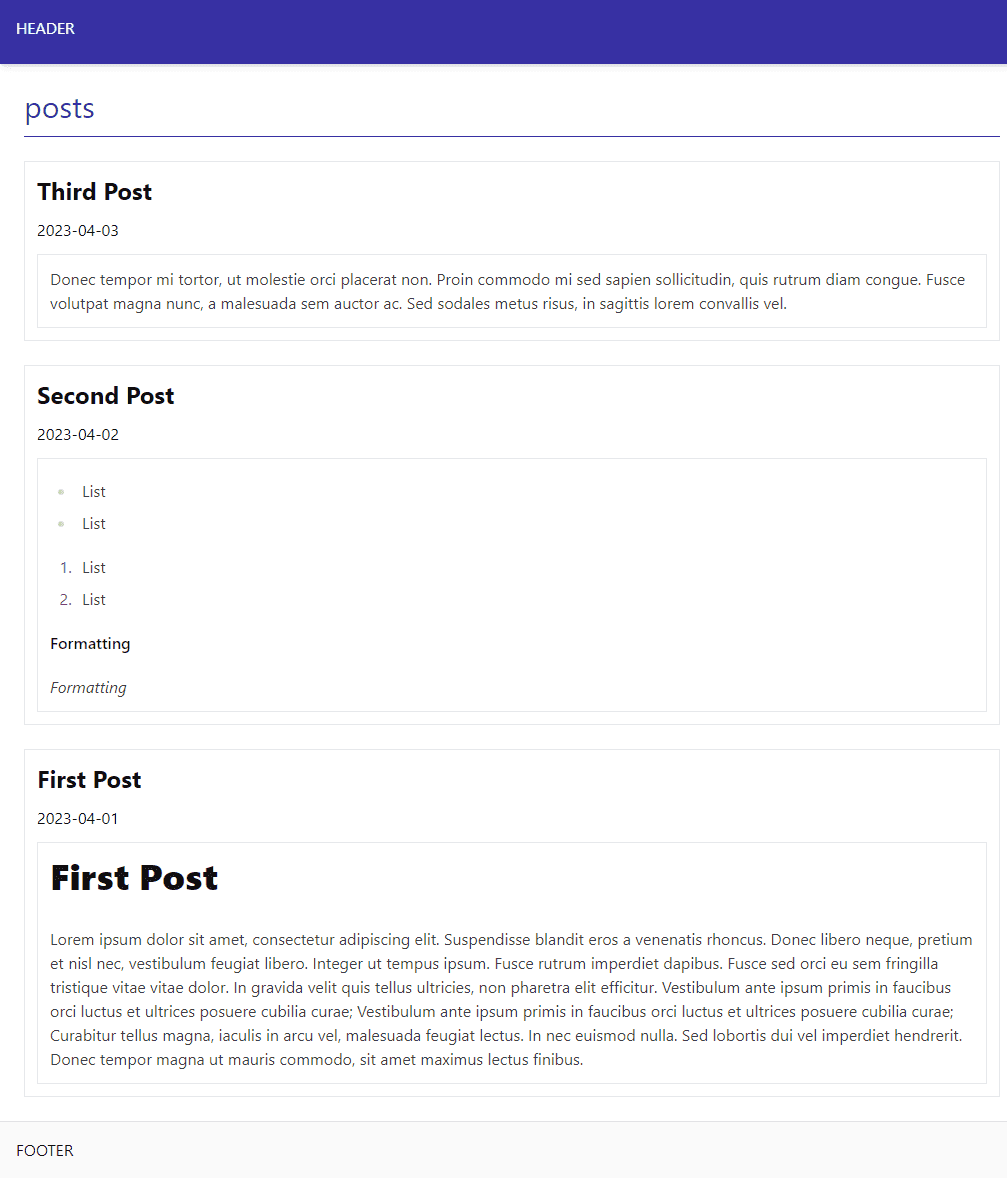
With just the first post that was created from earlier, the page looks like the below. You can see the markdown content of the post should be correctly displayed with formatting.
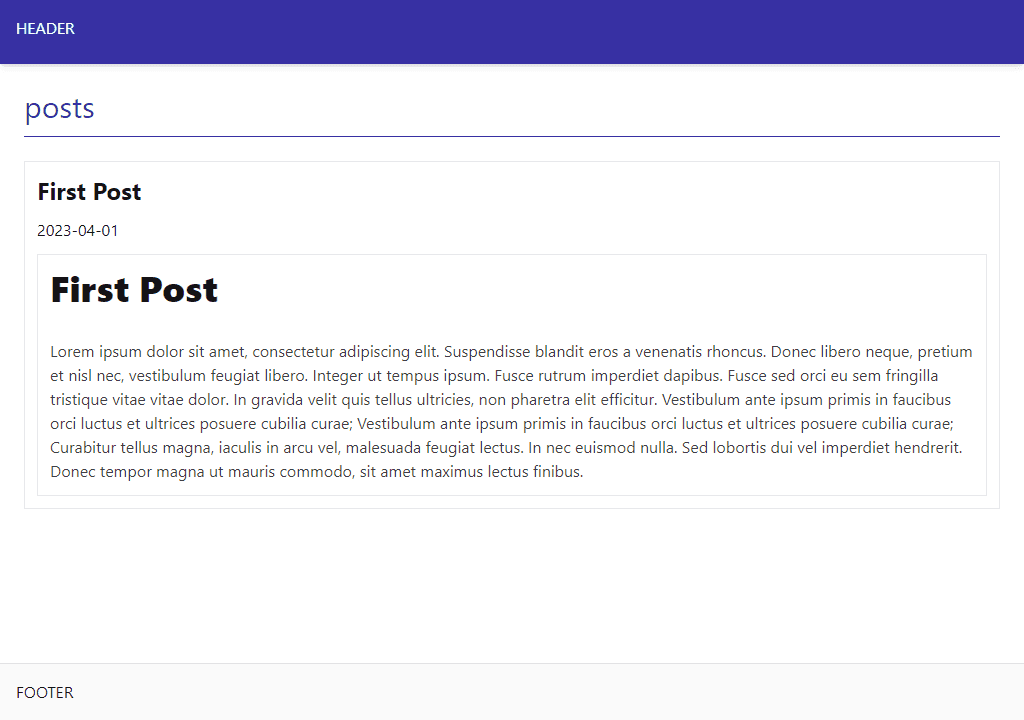
If we create some additional posts, you can see how it looks like with multiple posts.
